Stateless and Stateful widget you need to know as a flutter developer
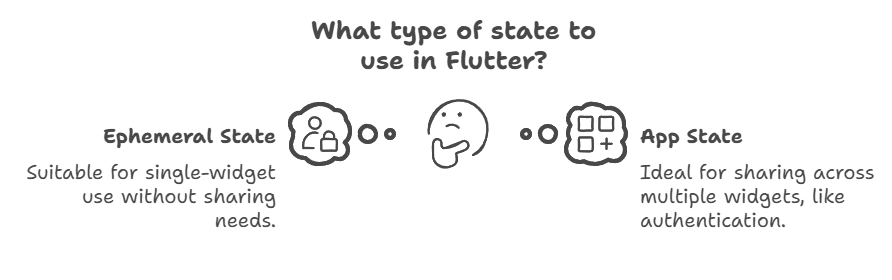
- Ephemeral (Local) State: State that is only used within a single widget and doesn’t need to be shared.
- App State: State that needs to be shared across multiple widgets (e.g., user authentication, theme settings).
Difference Between Stateless and Stateful Widgets
.png)
-
Definition:
-
StatelessWidget: A widget that does not change once built.
-
StatefulWidget: A widget that can change dynamically during runtime.
-
-
State Handling:
-
StatelessWidget: No internal state, only takes input and displays UI.
-
StatefulWidget: Uses a
Stateobject to manage changes in UI.
-
-
Performance:
-
StatelessWidget: More efficient, as it doesn’t rebuild unless its parent widget changes.
-
StatefulWidget: Less efficient if not optimized, as it rebuilds when
setState()is called.
-
-
Usage:
-
StatelessWidget: Used for static UI elements (e.g.,
Text,Icon). -
StatefulWidget: Used for interactive UI elements (e.g.,
TextField,Checkbox).
-
-
Lifecycle Management:
-
StatelessWidget: Has only a
build()method. -
StatefulWidget: Has multiple lifecycle methods like
initState(),setState(), anddispose().
import 'package:flutter/material.dart';

void main() {
  runApp(MyApp());
}

class MyApp extends StatelessWidget {
  @override
  Widget build(BuildContext context) {
    return MaterialApp(
      home: Scaffold(
        backgroundColor: Colors.blueGrey[900],
        appBar: AppBar(
          title: Text('Stateless Widget Example'),
          backgroundColor: Colors.deepPurple,
        ),
        body: Center(
          child: Container(
            width: 250,
            height: 150,
            decoration: BoxDecoration(
              color: Colors.orangeAccent,
              borderRadius: BorderRadius.circular(15),
              boxShadow: [
                BoxShadow(
                  color: Colors.black26,
                  blurRadius: 10,
                  spreadRadius: 2,
                  offset: Offset(4, 4),
                ),
              ],
            ),
            child: Center(
              child: Text(
                'Hello, Flutter!',
                style: TextStyle(
                  fontSize: 24,
                  fontWeight: FontWeight.bold,
                  color: Colors.white,
                ),
              ),
            ),
          ),
        ),
      ),
    );
  }
}
import 'package:flutter/material.dart';

void main() {
  runApp(MyApp());
}

class MyApp extends StatelessWidget {
  @override
  Widget build(BuildContext context) {
    return MaterialApp(
      home: CounterScreen(),
    );
  }
}

class CounterScreen extends StatefulWidget {
  @override
  _CounterScreenState createState() => _CounterScreenState();
}

class _CounterScreenState extends State {
  int _counter = 0;

  void _incrementCounter() {
    setState(() {
      _counter++;
    });
  }

  @override
  Widget build(BuildContext context) {
    return Scaffold(
      appBar: AppBar(title: Text('Stateful Widget Example')),
      body: Center(
        child: Column(
          mainAxisAlignment: MainAxisAlignment.center,
          children: [
            Text('Counter: $_counter', style: TextStyle(fontSize: 24)),
            ElevatedButton(
              onPressed: _incrementCounter,
              child: Text('Increment'),
            ),
          ],
        ),
      ),
    );
  }
}
Conclusion
Flutter’s basic widgets provide a strong foundation for building beautiful and interactive UIs. Understanding StatelessWidget and StatefulWidget is crucial for managing UI updates efficiently. With widgets like Container, Text, and ElevatedButton, you can create responsive and visually appealing apps. Experiment with these widgets and explore more to enhance your Flutter development skills!
.png)

.png)
Comments
Post a Comment